This is a job where our clients wanted to change the look of their dining room suite. The suite is made of oak and had originally been stained and varnished when it was manufactured some 40 years before.
The client had us strip the table top, re-stain it to match the original color, and then re-coat it with a protective film of polyurethane. Five coats of polyurethane were applied to the table to produce a diamond hard, mirror finish.


The clients wanted to convert the chairs from a stained and varnished finish to a painted finish. The decided on black for the chairs.
The chairs were sanded, primed and painted with several coats of black paint. They were then finished with two coats of the same polyurethane used on the table top.


Below, the set is featured back in the client's dining room.


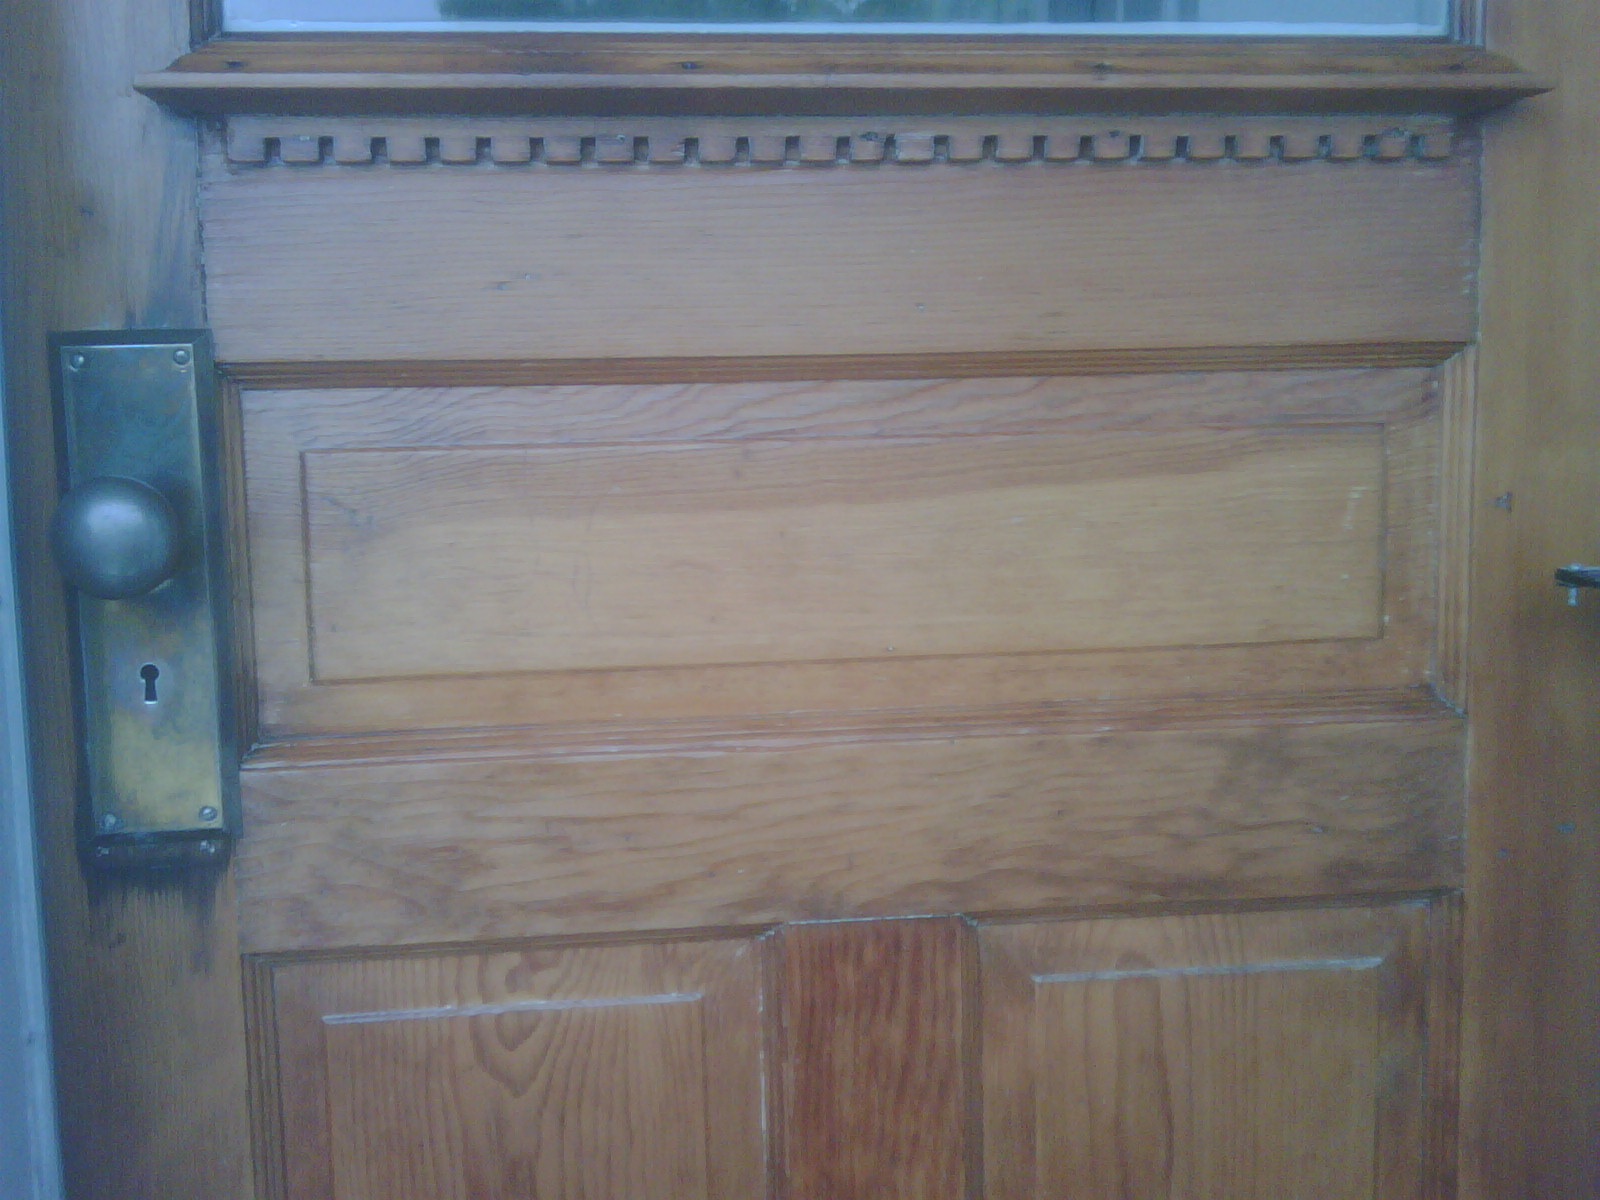
 ......Ok there steel. We had to match these doors to the existing trim around the windows. In the process we realized we can mimic almost any type of wood with this effect.


 This cedar cabana was built a few years back and was left to the elements. Untreated cedar turns gray and looks dull within a year. To bring it back to life, we applied a wood rejuvenator wash and worked it in with a stiff bristled brush. We then applied a Cabot oil stain. Cabot allows the wood to breathe as oppossed to most stains which seal the wood. Moisture gets trapped underneath wood and has to escape. If it is sealed, it simply pushes off any stain that is on it. This is the reason people have to restain their decks every few years.


 Much of the wood surrounding these windows was completely rotten. Our on staff carpenter installed new wood prior to priming and painting..... A huge savings in comparison to replacing windows.
 This is a hand hewn pine pergola. We applied a custom matched stain to match the existing wood on the house.


 This is a close up shot of the grain.
 Again, the grain is the focus of this shot.
 The base of the table shown below was abraded and coated with three coats of polyurethane.


